How to Install a Vinyl Fence? A Step-by-Step Guide

The Red Spider Lily’s Dark Meaning in Anime: Unveiling Tragedy
February 10, 2024
How is Cardboard Made? Unveiling the Art of Creating Sustainable Packaging
February 12, 2024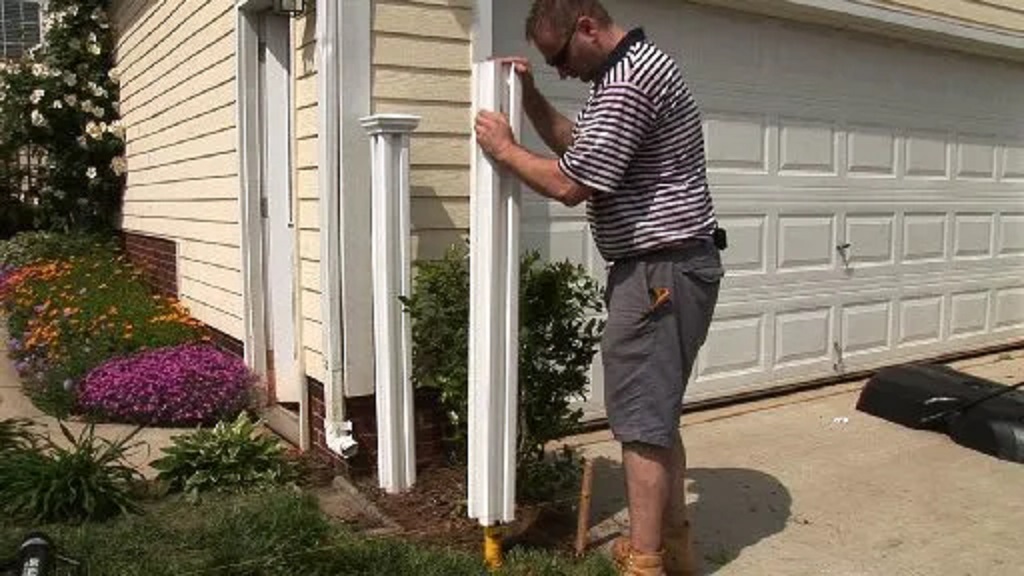
To install a vinyl fence, start by digging post holes, setting posts, filling it with concrete, and letting it cure. Then, attach the fence panels.
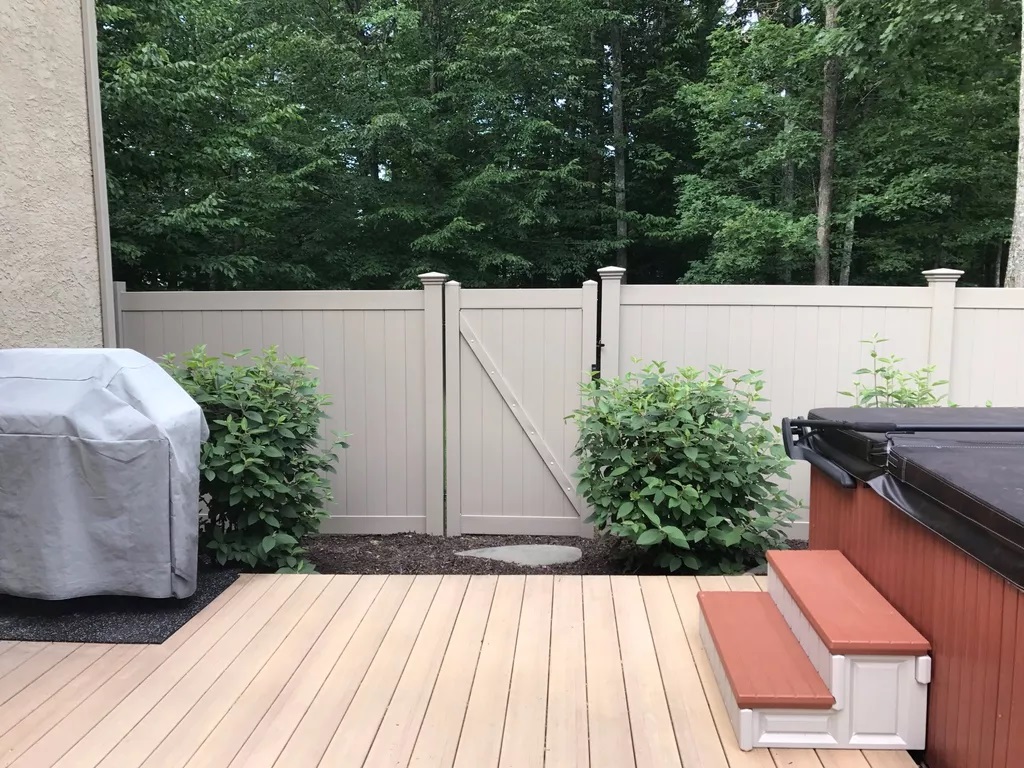
Installing a vinyl fence requires digging post holes, setting the posts with concrete, and attaching the fence panels to create a durable and aesthetically pleasing boundary around your property. A vinyl fence offers low maintenance and durability, making it a popular choice for homeowners.
While installing a vinyl fence may seem daunting, it can be a manageable DIY project with the right tools and proper guidance. At Lsdaynursery, we provide a step-by-step approach to establishing a vinyl fence, ensuring you can complete the installation process and enjoy the benefits of a beautiful and long-lasting fence around your property. With our guidance, you’ll have all the information needed to confidently tackle this project, from selecting the right materials to the final touches that make your fence both functional and aesthetically pleasing.
Tools And Materials Needed
When installing a vinyl fence, having the right tools and materials is crucial for ensuring a successful and efficient installation process. This is especially true if you plan to incorporate a removable fence post, which requires specific considerations for seamless integration. Having the necessary tools and materials on hand will not only make the installation process more manageable but will also contribute to achieving a professional-looking result. Proper preparation ensures that your vinyl fence is not only aesthetically pleasing but also durable and adaptable to your needs, thanks to the inclusion of removable posts for easy maintenance or adjustments.
Essential Tools
- Tape measure: This is essential for precise measurements during the layout and installation.
- Level: A level will help ensure the fence posts and panels are installed perfectly straight.
- Hacksaw or circular saw: Required for cutting the vinyl fence materials to the appropriate size.
- Post-hole digger: This is essential for digging the holes for the fence posts.
- Shovel: Needed for digging and backfilling the holes for the fence posts.
- Cordless drill: Essential for attaching the vinyl panels to the posts and other installation tasks.
- Hammer: Used to secure the fence panels and other components.
- Rubber mallet: This will aid in gently tapping the fence panels into place.
- Concrete mixing tools: If using concrete, tools for mixing and pouring the concrete will be required.
Required Materials
- Vinyl fence panels and posts: The primary components of the fence.
- Concrete: Used for securing the fence posts in the ground.
- Gravel: For use as a base when setting the fence posts in concrete.
- Cement mix: Required if concrete is used to secure the fence posts.
- Gate hardware: If including a gate in the fence, appropriate hardware will be needed for its installation.
- Fence post caps and accessories: To provide a finished look to the fence and add any necessary accessories.
- Galvanized screws or PVC adhesive: For securing panels to the posts, depending on the installation method.
Preparing For Installation
Learn how to install a vinyl fence with these easy steps. From setting the posts to installing the panels, this guide will provide instructions to complete the installation process successfully.
Checking Local Regulations
If you plan to install a vinyl fence, it’s essential to check the local regulations regarding its installation in your area. Different cities or municipalities may have specific guidelines and permits required for fence installation. Ensure compliance with the local rules to avoid any legal issues.
Mapping Out The Fence Line
Before starting the installation process, it’s crucial to map out the fence line accurately. This involves identifying the boundary lines, property corners, and potential obstacles, such as trees or structures. Mapping out the fence line ensures that the installation proceeds smoothly and the fence is erected in the desired location.
Installing The Fence Posts
To install a vinyl fence, start digging holes for the fence posts at the desired intervals. Please ensure the holes are deep enough, then fill them with concrete to secure the posts. Finally, attach the vinyl fence panels to the posts and enjoy your new fence.
Digging Post Holes
Digging post holes is the first step when installing a vinyl fence. You want to ensure the holes are deep enough to anchor the fence posts securely. A typical rule of thumb is to dig holes that are one-third the height of the fence post. So, if your posts are 6 feet tall, you’ll want to drill holes that are 2 feet deep. This depth will provide the necessary stability for your vinyl fence.
Use a post-hole digger or an auger to make the task easier. Ensure the holes are evenly spaced and aligned according to your fence design. Measure and mark the locations of the post holes beforehand to ensure accuracy and symmetry in your fence layout.
Setting The Posts
Once you’ve dug the post holes, it’s time to set the fence posts. Start by placing the posts in the holes, ensuring they are centered and upright. Use a level to ensure the posts are vertically and horizontally plumb. This step is crucial to maintaining a straight and aesthetically pleasing fence.
If you’re installing multiple fence panels, connecting the posts with rails is essential. Attach the rails to the posts at the appropriate height using brackets or screws. This will provide support and structure for your vinyl fence.
Securing With Concrete
To ensure maximum stability and strength for your vinyl fence, securing the posts with concrete is recommended. Concrete is a solid foundation that helps prevent the posts from leaning or shifting over time.
First, mix the concrete according to the manufacturer’s instructions. Pour the concrete mixture into the post holes, filling them to ground level. Make sure the concrete evenly surrounds the base of each fence post. Use a level or a straightedge to check that the posts remain plumb while the concrete sets.
Allow the concrete to cure for at least 24-48 hours before installing the vinyl fence panels. This will ensure that the posts are firmly anchored in place and ready to support the weight of the fence.
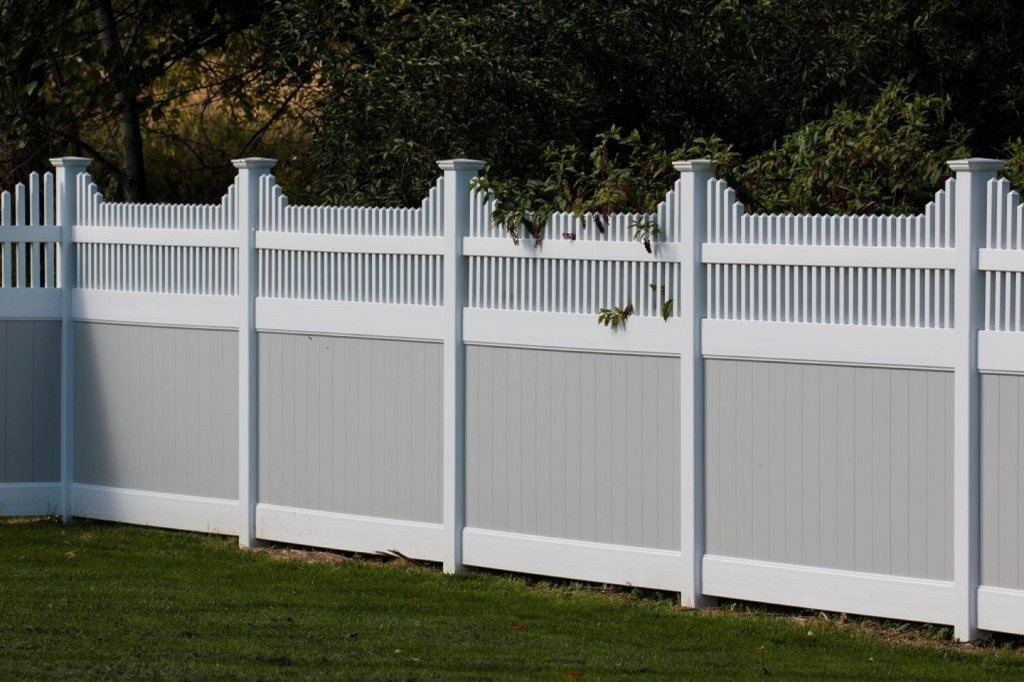
Attaching The Panels And Gates
Once you have successfully installed the C-channels, it’s time to attach the panels and gates to complete your vinyl fence installation. This step-by-step guide will walk you through the process, ensuring a sturdy and professional-looking fence.
Installing C-channels
Before attaching the panels and gates, you need to install the C channels. These channels serve as a secure framework on which the fence panels will be mounted. Follow these steps to install the C-channels:
- Start by securing the bottom C-channel to the post using stainless steel screws. Ensure that it is level and tightly attached to the post.
- Next, secure the top C-channel similarly, ensuring it is level and parallel to the bottom C-channel.
- Repeat this process for each post until all the C channels are securely installed.
Once the C channels are in place, you can attach the panels.
Attaching The Panels
Attaching the panels is a straightforward process that involves sliding the panel’s tongue into the C channels. Follow these steps to attach the panels:
- Insert the tongue of the vinyl fence panel into the opening of the bottom C-channel.
- Slide the panel along the C-channel until it is securely in place.
- Repeat this process for each panel, ensuring they are evenly spaced and aligned.
Once all the panels are attached, it’s time to install the gates.
Installing Gates
Installing gates is the final step in completing your vinyl fence installation. The process is similar whether you are installing a single or double gate. Follow these steps to install the gates:
- Measure the length and width of the gate opening to ensure a proper fit.
- Attach the gate hinges to the gate post using stainless steel screws.
- Hang the gate on the hinges and ensure it swings freely.
- Install a gate latch on the opposite side of the hinges to secure the gate when closed.
- Check the alignment and stability of the gate, adjusting the hinges if necessary.
With the gates securely in place, your vinyl fence installation is complete. Enjoy the privacy and beauty that your new fence brings to your property.
Frequently Asked Questions On How To Install A Vinyl Fence
Can I Install A Vinyl Fence Myself?
Yes, installing a vinyl fence can be a DIY project with the right tools and some experience.
Do Vinyl Fence Posts Need Concrete?
Yes, vinyl fence posts need concrete for stability and durability. This helps the fence withstand wear and tear and maintain strength over time.
How Deep Should Vinyl Fence Post Be In The Ground?
Vinyl fence posts should be buried at least 2 feet into the ground for stability and to ensure the fence can withstand weather conditions and regular wear and tear. This depth helps to provide a robust and secure foundation for the wall.
Do Vinyl Fence Posts Need Wood Inserts?
Vinyl fence posts typically need wood or metal inserts for added stability. Most vinyl fence manufacturers recommend this to ensure the fence withstands the elements, regular wear-and-tear, and gravity. Installing the hollow post with an insert helps make the wall more secure.
Conclusion
Installing a vinyl fence can be a rewarding DIY project. With the right tools and some experience, you can easily install a vinyl fence in your backyard. When considering cavity wall insulation, it’s essential to gauge the thickness carefully, much like the diligence required when using concrete for fence posts to ensure they are solid and secure. By following the steps outlined in this blog post, you can achieve a well-built, durable vinyl fence that will enhance the beauty and privacy of your property. So, grab your tools and get started on your vinyl fence installation today!


