How to Design a Skateboard Deck

How to Get Lint Rope in Grounded
September 26, 2023
Why Do Cars Overheat but Coolant is Full?
October 4, 2023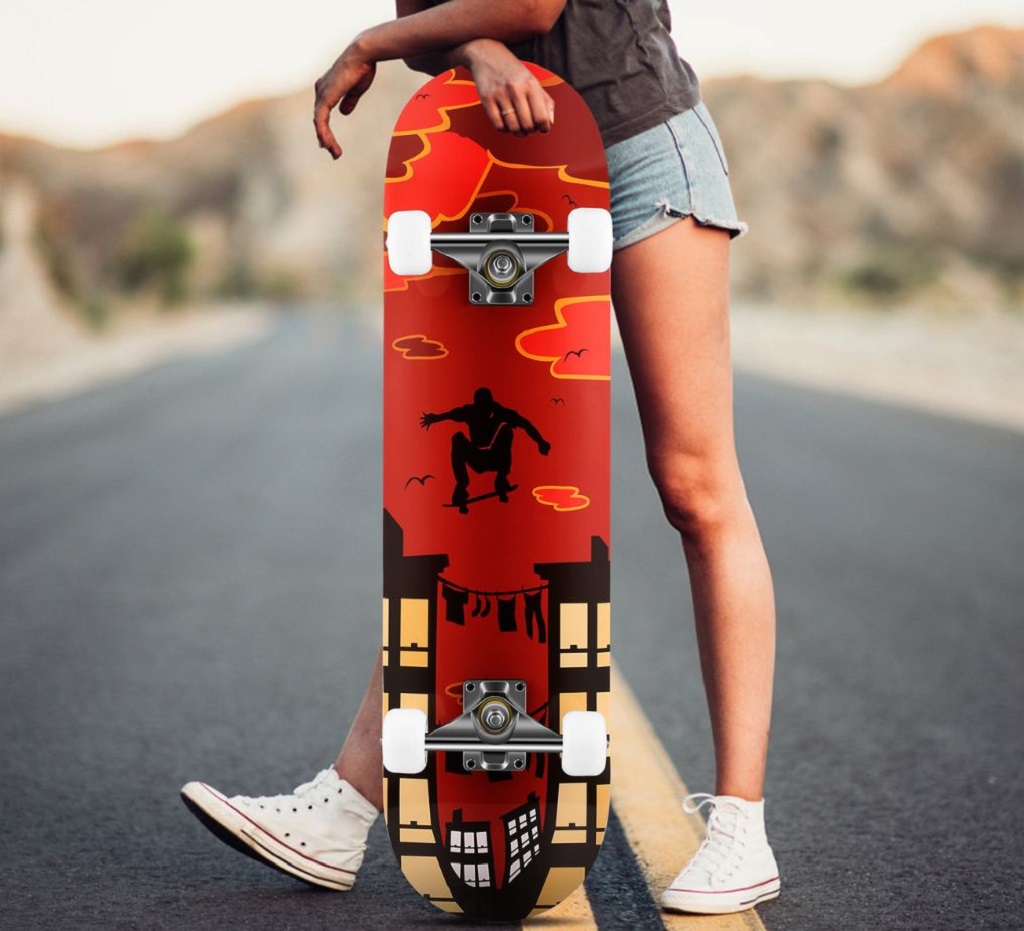
Hey there, fellow skateboarding enthusiast! So, you want to design your very own skateboard deck, huh? That’s awesome! Whether you’re an aspiring artist, a passionate skateboarder, or just someone looking to add a personal touch to your ride, designing your own skateboard deck can be a rad experience. In this guide, we’re going to break down the process step by step, from finding inspiration to bringing your design to life. So grab your sketchbook and let’s dive right in!
Step 1: Find Your Inspiration
The first step in creating an epic skateboard deck is finding inspiration. What gets your creative juices flowing? It could be anything – your favorite artwork, a memorable trip, a beloved movie, or even your own imagination. Take a moment to brainstorm and jot down ideas. Don’t be afraid to think outside the box; after all, skateboarding is all about pushing boundaries! Discover how much does a skateboard weigh.
Step 2: Sketch Your Ideas
Once you’ve got your inspiration sorted out, it’s time to put pen to paper. Sketch out your ideas on a blank canvas. You don’t need to be a professional artist for this – just let your creativity flow. Experiment with different shapes, colors, and styles until you’re satisfied with your design. Remember, this is your chance to express yourself, so go wild!
Step 3: Choose Your Medium
Now that you’ve got your design on paper, it’s time to decide how you want to transfer it onto your skateboard deck. There are a few popular methods to choose from:
- Hand-Painting: If you’re a traditionalist and love getting your hands dirty, you can hand-paint your design directly onto the deck using acrylic paints. It’s a bit more time-consuming, but the result can be truly unique.
- Vinyl Stickers: For a clean and precise look, you can create or order vinyl stickers of your design. Simply peel and stick them onto your deck. This method is perfect if you want intricate details and sharp lines.
- Digital Printing: If you have a high-resolution image of your design, you can send it to a professional skateboard deck printing service. They’ll use advanced printing technology to transfer your design onto the deck. This method is great for achieving photo-realistic graphics.
Step 4: Gather Your Materials
Depending on the method you choose, you’ll need specific materials. Here’s a quick rundown:
- For Hand-Painting: Acrylic paints, brushes, water, palette, masking tape (for clean lines), and a clear sealant to protect your design.
- For Vinyl Stickers: Your printed vinyl stickers, a squeegee for application, and a utility knife for trimming.
- For Digital Printing: Your high-resolution design file, and the services of a professional skateboard deck printing company.
Step 5: Prepare Your Skateboard Deck
Before you start applying your design, make sure your skateboard deck is clean and ready to go. Remove any old grip tape, stickers, or dirt. It’s like giving your deck a fresh canvas to work with. Discover Lightweight BMX Bikes for Pros.
Step 6: Apply Your Design
Here’s where the magic happens! Depending on your chosen method:
- Hand-Painting: Use your sketches as a reference and start painting your design onto the deck. Take your time and enjoy the process. Let each layer of paint dry before adding more, and be patient.
- Vinyl Stickers: Carefully apply your vinyl stickers to the deck, starting from one end and working your way to the other. Use a squeegee to press out any air bubbles and ensure a smooth finish. Trim any excess sticker material with a utility knife.
- Digital Printing: If you’ve opted for professional printing, let the experts handle it. They’ll use high-quality printing technology to transfer your design onto the deck. Just make sure to follow their specific guidelines for file format and resolution.
Step 7: Protect Your Artwork
To keep your masterpiece looking fresh, it’s a good idea to apply a clear sealant or skateboard deck grip tape over your design. This will protect it from scratches, scuffs, and the wear and tear of skateboarding. Make sure to follow the manufacturer’s instructions for the best results.
Step 8: Assemble Your Skateboard
With your newly designed deck ready to roll, it’s time to put your skateboard back together. Reattach your trucks, wheels, and grip tape. Remember, it’s not just about the deck – it’s the whole setup that makes your ride unique!
Step 9: Hit the Streets!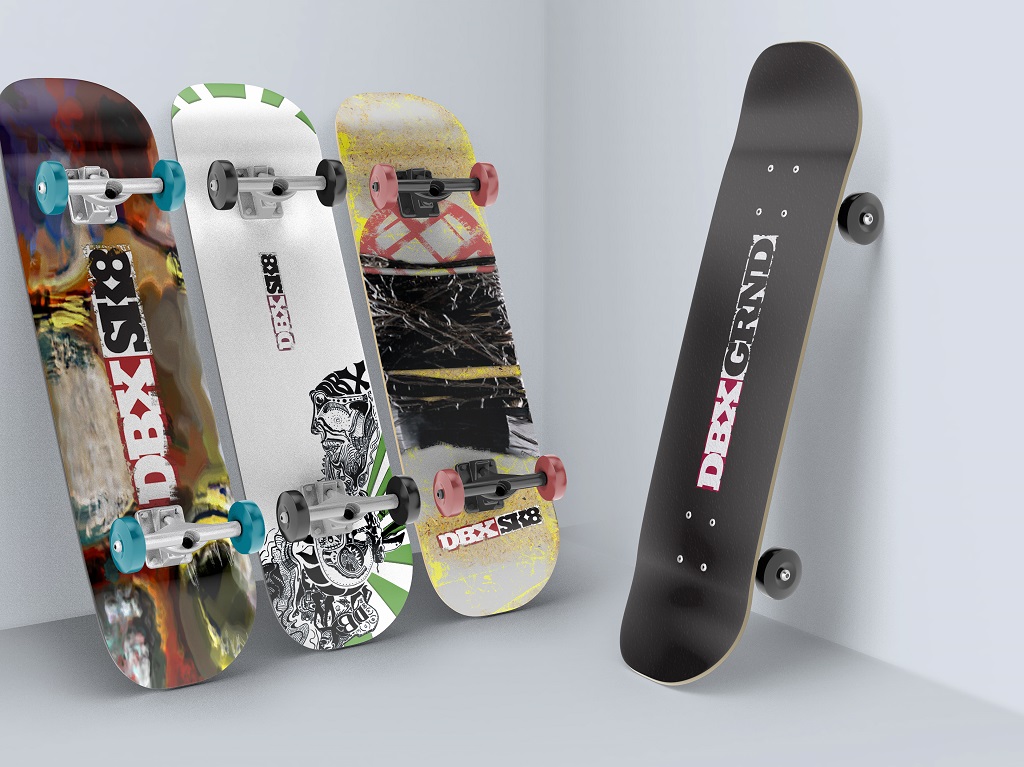
Congratulations, you’ve just designed your very own skateboard deck! Now, it’s time to take it for a spin. Head to your favorite skate spot, show off your design to your friends, and enjoy the thrill of riding on a deck that’s as unique as you are.
But hey, designing a skateboard deck isn’t just about following a set of steps; it’s about unleashing your creativity and making a statement. It’s like painting a canvas that you ride on, a reflection of your personality and style. So, don’t be afraid to experiment, make mistakes, and have fun along the way. After all, that’s what skateboarding is all about – pushing boundaries and expressing yourself!
Now, let’s tackle some common questions that might be rolling around in your head:
Conclusion
So there you have it – the ultimate guide to designing your own skateboard deck. Now go out there and create a deck that’s as unique as you are, and remember to have a blast while doing it. Skateboarding is all about self-expression, so let your creativity flow and enjoy the ride!
FAQs
- How do I come up with a unique design for my skateboard deck?
Inspiration can come from anywhere – your favorite art, nature, music, or even your own experiences. The key is to let your imagination run wild and experiment with different ideas. Don’t be afraid to combine elements or styles to create something truly unique to you.
- Can I design my skateboard deck without artistic talent?
Absolutely! You don’t need to be a professional artist to design a skateboard deck. It’s all about expressing yourself, so just have fun with it. If you’re not confident in your drawing skills, you can use digital design software or even collaborate with an artist friend.
- What’s the best method for applying my design to the skateboard deck?
The best method depends on your preferences and skills. Hand-painting gives you complete creative control but requires painting skills. Vinyl stickers offer precision and ease of application. Digital printing provides high-quality graphics but may involve professional services. Choose the method that suits you best.
- How can I protect my skateboard deck design from damage?
To protect your design, apply a clear sealant or skateboard deck grip tape over it. This will help prevent scratches and scuffs while you ride. Regularly inspect your deck for wear and tear, and touch up any damaged areas as needed.
- Can I change my design later if I get tired of it?
Yes, you can change your design in the future. If you hand-painted your deck, you can sand off the old design and start fresh. If you used vinyl stickers, you can carefully remove them and apply new ones. Keep in mind that it’s all part of the creative process, and your skateboard deck can evolve along with your style and interests.