Are Blackout Curtains Easy to Install?

Does Height Increase After 21?
July 20, 2023
Is it Good to Compress Your OS Drive?
July 22, 2023
When it comes to creating the perfect ambiance in your home, blackout curtains are a popular choice. These window coverings are designed to block out light, making them ideal for bedrooms, nurseries, home theaters, and any other space where you want to control the amount of natural light that enters. But if you’re considering blackout curtains for your home, you may be wondering just how easy they are to install. In this article, we’ll explore the installation process of blackout curtains, provide step-by-step guidance, and offer tips to ensure a hassle-free experience. The article is presented by https://shahraradecor.com/
Introduction to Blackout Curtains
Blackout curtains are an excellent solution for people who need to create a darkened environment for sleeping, working, or other activities. If you are interested in discovering how to install blackout curtains, you’ll be glad to know that they are easy to install and require no special tools or skills. These specially designed window treatments are made from tightly woven or layered fabrics, lined with a light-blocking material to prevent the penetration of sunlight into a room. They are available in a variety of colors, patterns, and styles to suit different preferences and home decor themes.
Gathering the Necessary Tools and Materials
Before you begin the installation process, it’s important to gather all the tools and materials you’ll need. Here are the essential items:
- Blackout curtains of your choice
- Curtain rods or tracks
- Mounting hardware (screws, anchors, brackets, etc.)
- Measuring tape
- Level
- Drill
- Screwdriver
- Pencil
Measuring and Marking
Proper measurements are crucial to ensure a precise fit for your blackout curtains. Start by measuring the width and height of your window frame. Add a few extra inches to the width to allow the curtains to overlap and block out light effectively. Mark the spots where the curtain rod or track will be installed, ensuring it is level and centered.
Installing the Curtain Rods or Tracks
Next, install the curtain rods or tracks according to the manufacturer’s instructions. Use a level to ensure they are perfectly straight. If using rods, attach the brackets securely to the wall, making sure they align with your marked spots. For tracks, follow the installation guidelines provided, ensuring they are securely fastened.
Hanging the Blackout Curtains
Once the curtain rods or tracks are in place, it’s time to hang the blackout curtains. Carefully slide the curtains onto the rods or hooks of the tracks. Ensure they are evenly distributed and hang straight. Adjust the curtain length if necessary by folding or hemming the bottom edge.
Testing and Adjusting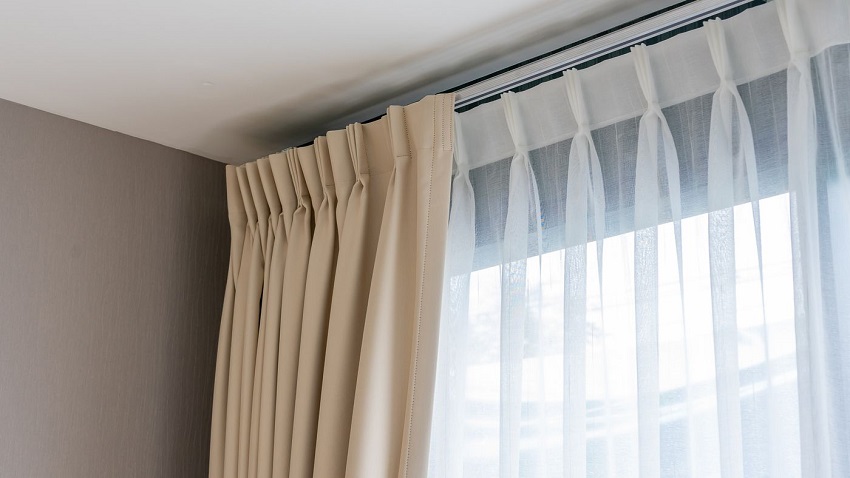
After hanging the curtains, take a step back and assess the overall appearance and functionality. Gently pull the curtains across the window to test their smooth operation. Make any necessary adjustments to ensure they open and close effortlessly and provide complete light blockage when closed.
Maintenance and Care Tips
To keep your blackout curtains in optimal condition, follow these maintenance tips:
- Regularly dust or vacuum the curtains to remove any accumulated dirt or debris.
- Check the care instructions provided by the manufacturer and clean accordingly.
- Avoid using harsh chemicals or abrasive cleaning agents that may damage the curtains.
- If your curtains become wrinkled, use a handheld steamer or iron on a low heat setting to remove creases.
Conclusion
Blackout curtains offer a convenient and stylish solution for controlling light and privacy in your home. Installing them is a straightforward process that can be accomplished with basic tools and a little effort. By following the steps outlined in this article, you can transform any room into a cozy and serene space with ease.
FAQs (Frequently Asked Questions)
- Can blackout curtains be installed without professional help?
Absolutely! Blackout curtains are designed for easy installation and can be installed without professional assistance. Just follow the step-by-step guidelines provided in this article.
- Do blackout curtains block noise as well?
While blackout curtains are primarily designed to block light, they can also help reduce noise to some extent by absorbing sound waves.
- Can I use blackout curtains in rooms other than bedrooms?
Yes, blackout curtains are versatile and can be used in any room where you want to control light levels, such as living rooms, home theaters, or nurseries.
- Are blackout curtains energy-efficient?
Yes, blackout curtains provide insulation, helping to regulate room temperature and reduce energy consumption by blocking out heat in the summer and retaining warmth in the winter.
- Can I install blackout curtains on my own if I have limited DIY experience?
Yes, the installation process for blackout curtains is relatively simple and can be done by anyone, even with limited DIY experience. Just follow the instructions carefully and take your time.


